Connecting TrueNAS Core to Cloudflare Zero Trust
Cloudflare Zero Trust tunnel client does not support FreeBSD out of the box, and Cloudflare does not provide FreeBSD binaries either. This means that we need to either fetch the package or build the binary ourselves, and then configure tunnel in a roundabout way: automatic tunnel setup does not work. Lastly, we want to enable it in a way to survive the TrueNAS OS upgrades, let alone reboots.
Obtaining the cloudflared binary
Building from source
-
Create a temporary jail named
temp, enableDHCP,BPF, andVNET, and login:root@truenas[~]# iocage create -r 13.1-RELEASE -n temp temp successfully created! root@truenas[~]# iocage set dhcp=1 temp dhcp: 0 -> 1 root@truenas[~]# iocage set bpf=1 temp bpf: 0 -> 1 root@truenas[~]# iocage set vnet=1 temp vnet: 0 -> 1 root@truenas[~]# iocage console -f temp ... root@temp:~# -
Now we are inside the jail. Fetch and extract ports:
portsnap fetch portsnap extract -
Build cloudflared:
cd /usr/ports/net/cloudflared/ env FORCE_PKG_REGISTER=1 make install clean -
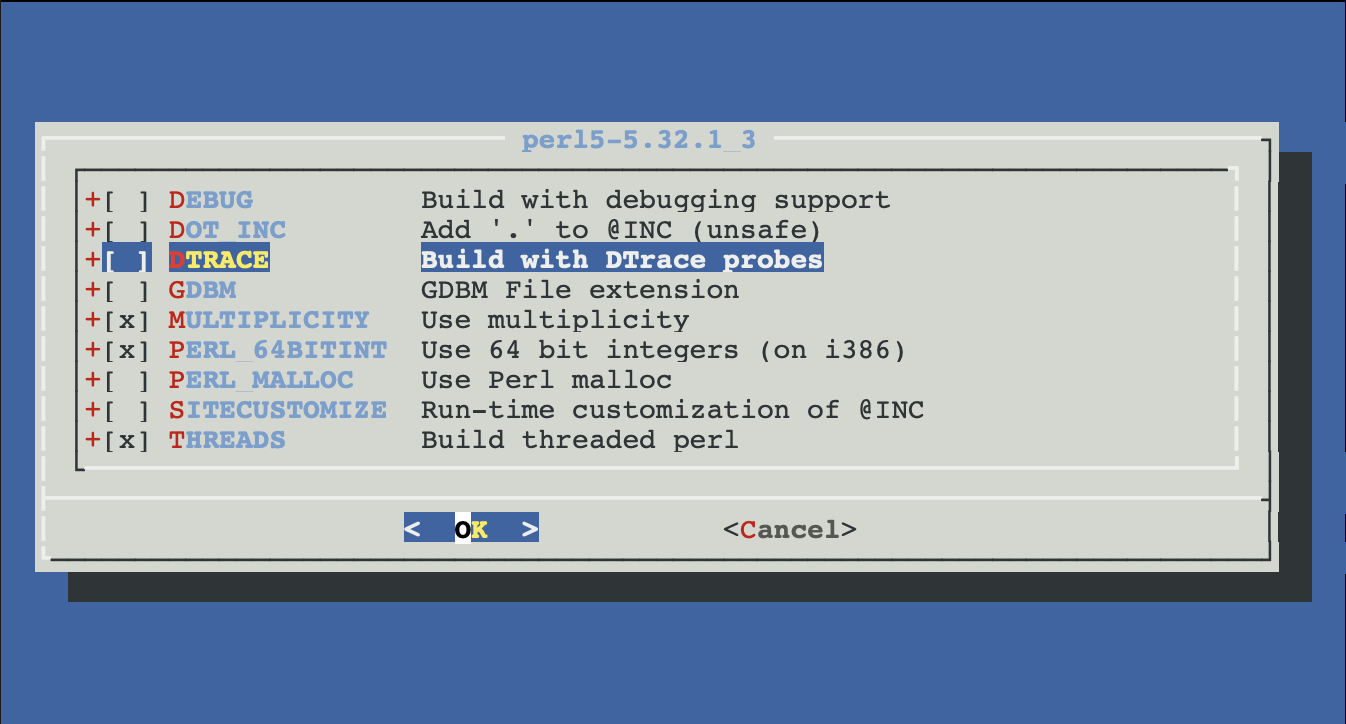
You will be presented with a series of configuration dialogs, accept everything by default, except do disable dtrace (for some reason it does not build, and we’re not going to be debugging the cloudflared anyway):
Or, installing the package
- Adjust the update channel in
/etc/pkg/FreeBSD.confif desired - Install the package
pkg update
pkg upgrade -y
pkg install -y cloudflared
Moving the files in place
- Now you shall have
/usr/local/bin/cloudflareddaemon and/usr/local/etc/rc.d/cloudflaredrc script. Copy them to some persistent location, for example, a dedicated dataset on your main pool, e.g./mnt/pool1/cloudflared/.... We will symlink them into the correct positions later. - At this point, we no longer need the temp jail. Log out, stop, and destroy it:
root@temp:/usr/ports/net/cloudflared# exit
logout
root@truenas[~]# iocage stop temp
...
root@truenas[~]# iocage destroy temp
...
Creating the tunnel
cloudflared service install ... does not work, so we will create a tunnel manually, and then migrate it to manage from the ZeroTrust dashboard.
- On the main TrueNAS instance symlink the executable and the rc.d script to the expected locations:
ln -s /mnt/pool1/cloudflared/usr/local/bin/cloudflared /usr/local/bin/cloudflared ln -s /mnt/pool1/cloudflared/usr/local/etc/rc.d/cloudflared /usr/local/etc/rc.d/cloudflared - Also create a folder to hold cloudflare configuration data, and symlink it to the main host as well:
mkdir -p /mnt/pool1/cloudflared/usr/local/etc/cloudflared ln -s /mnt/pool1/cloudflared/usr/local/etc/cloudflared /usr/local/etc/cloudflared - Now login to cloudflare and follow the instructions:
cloudflared tunnel login - As a result, the
cert.pemfile will be created, move it to the configuration folder:mv /root/.cloudflared/cert.pem /usr/local/etc/cloudflared - Proceed with the tunnel creation per Cloudflare documentation1.
- Disable the TLS verification in the advanced properties of the tunnel if your TrueNAS instance uses self-signed certificate
Configuring persistence
-
Create the
init.shfile in yourcloudflareddataset on the persistent pool with the commands necessary to configure the symlinks, cloudflared daemon and to start it.#!/bin/sh service cloudflared stop echo "Linking /usr/local/etc/cloudflared/" ln -sF /mnt/pool1/cloudflared/usr/local/etc/cloudflared /usr/local/etc/cloudflared echo "Linking /usr/local/bin/cloudflared" ln -sf /mnt/pool1/cloudflared/usr/local/bin/cloudflared /usr/local/bin/cloudflared echo "Linking /usr/local/etc/rc.d/cloudflared" ln -sf /mnt/pool1/cloudflared/usr/local/etc/rc.d/cloudflared /usr/local/etc/rc.d/cloudflared echo "Configuring the rc service" sysrc cloudflared_enable="YES" sysrc cloudflared_mode="tunnel run" service cloudflared start -
In
Tasks, add an entry underInit/Shutdown Scriptssection to call the script in POSTINIT`